
There’s nothing quite like the rich, buttery taste of homemade Danish Butter Cookies. With their crisp edges, delicate texture, and melt-in-your-mouth finish, these classic cookies are a timeless favorite that’s perfect for holidays, afternoon tea, or everyday baking.
Made with simple pantry ingredients, Danish butter cookies are known for their beautiful piped shapes and rich buttery flavor. They pair wonderfully with coffee, tea, or hot chocolate and also make thoughtful homemade gifts during the festive season.
Whether you’re an experienced baker or trying them for the first time, this easy recipe will help you create bakery-style cookies that look and taste incredible.
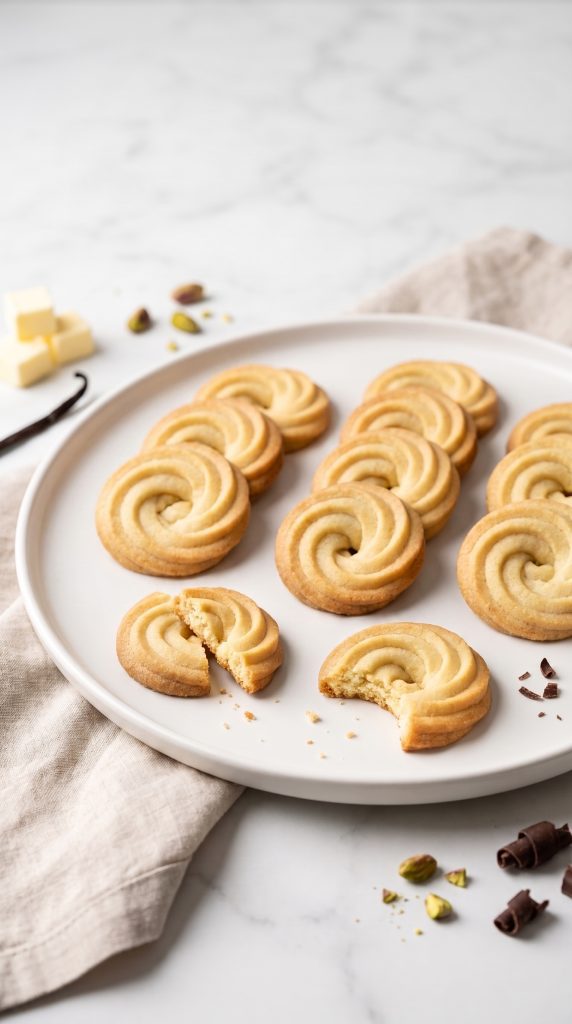
Why You’ll Love This Recipe
- Rich buttery flavor
- Crisp edges with a tender center
- Easy to make with basic ingredients
- Beautiful bakery-style appearance
- Perfect for holidays and gift boxes
- Great with tea or coffee
- Beginner-friendly recipe
- Freezer-friendly dough
Ingredients
For the Cookies
- 1 cup (225g) unsalted butter, softened
- ¾ cup (90g) powdered sugar
- 1 large egg
- 1 teaspoon vanilla extract
- ½ teaspoon almond extract (optional)
- 2½ cups (315g) all-purpose flour
- 2 tablespoons cornstarch
- ¼ teaspoon salt
Optional Decorations
- Melted dark chocolate
- Colored sprinkles
- Chopped pistachios
- Sanding sugar
- White chocolate drizzle
Step-by-Step Instructions
Step 1: Prepare the Oven
Preheat your oven to 350°F (175°C).
Line two baking trays with parchment paper.
Step 2: Cream the Butter
In a large mixing bowl, beat the softened butter and powdered sugar until light, fluffy, and creamy.
Add the egg, vanilla extract, and almond extract, then mix until well combined.
Step 3: Add the Dry Ingredients
Gradually add the flour, cornstarch, and salt.
Mix until a smooth, soft dough forms. The dough should be soft enough to pipe but firm enough to hold its shape.
Step 4: Pipe the Cookies
Transfer the dough to a piping bag fitted with a large star tip.
Pipe rosettes, circles, or “S” shapes onto the prepared baking trays, leaving space between each cookie.
Step 5: Bake
Bake for 12–15 minutes, or until the edges are lightly golden.
Do not overbake, as the cookies will continue to crisp while cooling.
Step 6: Cool and Decorate
Allow the cookies to cool on the baking tray for 5 minutes before transferring them to a wire rack.
Once completely cool, dip half of each cookie in melted chocolate or decorate with sprinkles if desired.
Recipe Variations
Chocolate-Dipped Butter Cookies
Dip half of each cooled cookie in melted dark or milk chocolate.
Lemon Butter Cookies
Add 1 teaspoon of finely grated lemon zest to the dough for a fresh citrus flavor.
Almond Butter Cookies
Increase the almond extract slightly and top with sliced almonds before baking.
Jam Thumbprint Cookies
Press a small indentation into each cookie and fill with your favorite fruit jam before baking.
Festive Butter Cookies
Decorate with colored sugar, sprinkles, or edible glitter for holidays and special occasions.
Common Mistakes to Avoid
- Use room-temperature butter for a smooth dough.
- Don’t overmix once the flour is added.
- If the dough feels too soft, chill it for 15–20 minutes before piping.
- Avoid overbaking to keep the cookies tender.
- Allow the cookies to cool completely before decorating with chocolate.
Storage Instructions
Store the cookies in an airtight container at room temperature for up to 1 week.
For longer storage, freeze the baked cookies or unbaked dough for up to 3 months.
Serving Suggestions
Enjoy Danish butter cookies with:
- Hot coffee
- Black tea
- Earl Grey tea
- Hot chocolate
- Vanilla ice cream
- Fresh berries
They’re also perfect for holiday cookie tins, afternoon tea, edible gifts, or festive dessert platters.
Nutrition
Approximate nutrition per cookie (24 cookies).
- Calories: 125
- Carbohydrates: 12g
- Protein: 1g
- Fat: 8g
- Saturated Fat: 5g
- Sugar: 4g
- Sodium: 35mg
Nutrition values are estimates and may vary depending on the ingredients used.
Frequently Asked Questions
Why did my cookies spread too much?
The butter may have been too soft, or the dough wasn’t chilled enough. If needed, chill the piped cookies for 10–15 minutes before baking.
Can I make the dough ahead of time?
Yes. Refrigerate the dough for up to 2 days or freeze it for up to 3 months.
Can I use salted butter?
Yes, but reduce or omit the added salt in the recipe.
Why are my cookies hard?
Overbaking is the most common reason. Remove them as soon as the edges turn lightly golden.
Can I use a cookie press instead of a piping bag?
Absolutely. A cookie press works perfectly and creates traditional Danish butter cookie shapes.
Conclusion
These Danish Butter Cookies are everything a classic butter cookie should be—crisp, buttery, delicate, and full of rich homemade flavor. With their beautiful piped designs and melt-in-your-mouth texture, they’re perfect for holidays, afternoon tea, or sharing with family and friends.
Whether you enjoy them plain, dipped in chocolate, or decorated for a special occasion, this easy recipe will help you create bakery-quality cookies every time. Bake a batch today and enjoy the timeless taste of homemade Danish butter cookies.
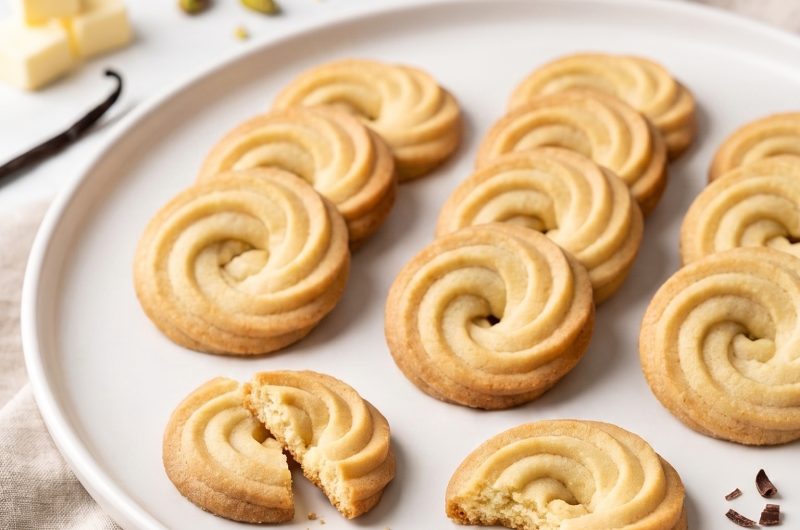
Danish Butter Cookies
Cuisine: bakingDifficulty: Medium4
servings30
minutes40
minutes550
kcalIngredients
For the Cookies
1 cup (225g) unsalted butter, softened
¾ cup (90g) powdered sugar
1 large egg
1 teaspoon vanilla extract
½ teaspoon almond extract (optional)
2½ cups (315g) all-purpose flour
2 tablespoons cornstarch
¼ teaspoon saltOptional Decorations
Melted dark chocolate
Colored sprinkles
Chopped pistachios
Sanding sugar
White chocolate drizzle
Directions
- Step 1: Prepare the Oven
Preheat your oven to 350°F (175°C).
Line two baking trays with parchment paper. - Step 2: Cream the Butter
In a large mixing bowl, beat the softened butter and powdered sugar until light, fluffy, and creamy.
Add the egg, vanilla extract, and almond extract, then mix until well combined. - Step 3: Add the Dry Ingredients
Gradually add the flour, cornstarch, and salt.
Mix until a smooth, soft dough forms. The dough should be soft enough to pipe but firm enough to hold its shape. - Step 4: Pipe the Cookies
Transfer the dough to a piping bag fitted with a large star tip.
Pipe rosettes, circles, or “S” shapes onto the prepared baking trays, leaving space between each cookie. - Step 5: Bake
Bake for 12–15 minutes, or until the edges are lightly golden.
Do not overbake, as the cookies will continue to crisp while cooling. - Step 6: Cool and Decorate
Allow the cookies to cool on the baking tray for 5 minutes before transferring them to a wire rack.
Once completely cool, dip half of each cookie in melted chocolate or decorate with sprinkles if desired.