
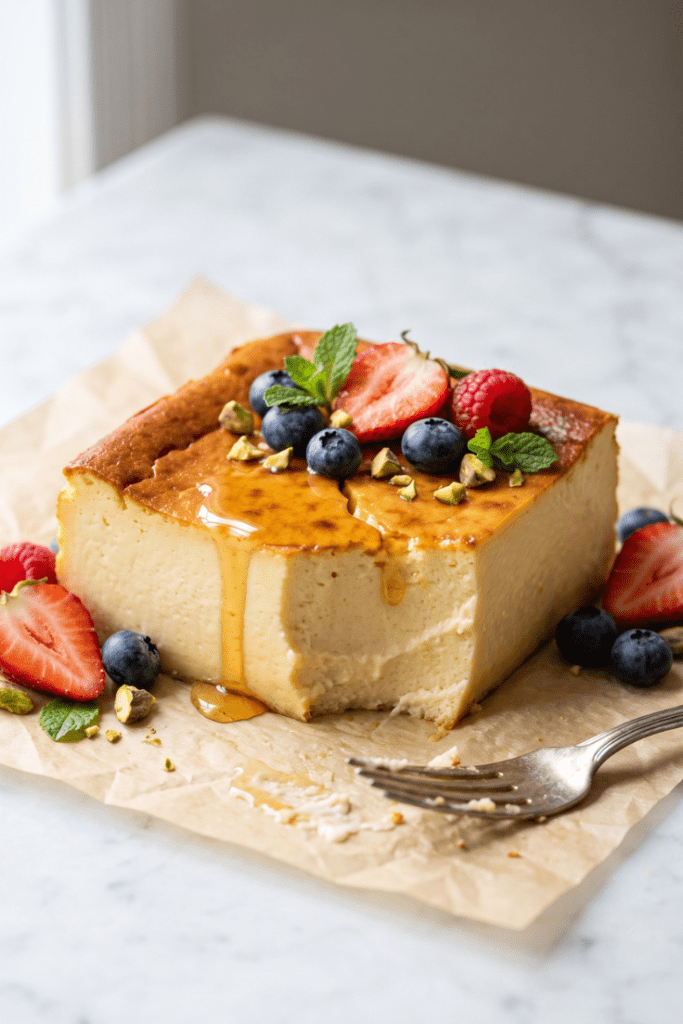
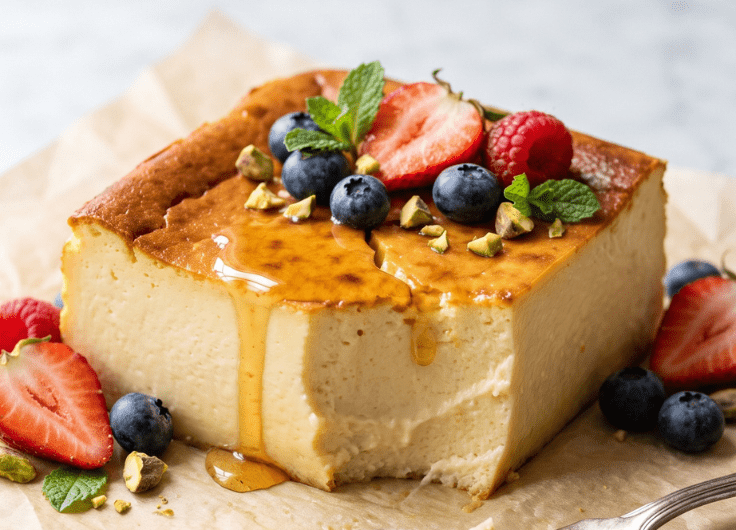
If you’re looking for a simple yet elegant dessert, Homemade Baked Yogurt is the perfect recipe to try. Made with just a few everyday ingredients, this creamy dessert has a silky texture and a rich, lightly tangy flavor that’s impossible to resist.
Unlike traditional yogurt, baked yogurt is gently cooked in the oven, creating a smooth, custard-like consistency without the need for gelatin or complicated techniques. It’s an easy dessert that’s perfect for family dinners, special occasions, or a healthy afternoon treat.
Whether you enjoy it plain or topped with fresh fruit, honey, or nuts, this homemade baked yogurt is a foolproof recipe that anyone can make.
Why You’ll Love This Recipe
- Only 3 main ingredients
- Smooth and creamy texture
- Naturally rich and delicious
- No gelatin required
- Beginner-friendly recipe
- Perfect make-ahead dessert
- Easy to customize with different flavors
- Great for breakfast or dessert
Ingredients
You’ll only need a few simple ingredients.
- 2 cups (500g) plain full-fat yogurt
- 1 cup (300g) sweetened condensed milk
- 2 large eggs
- 1 teaspoon vanilla extract (optional)
Optional Toppings
- Fresh strawberries
- Blueberries
- Mango cubes
- Honey
- Chopped pistachios
- Almond flakes
- Granola
- Ground cinnamon
For the best texture, use full-fat yogurt rather than low-fat varieties.
Step-by-Step Instructions
Step 1: Preheat the Oven
Preheat your oven to 160°C (320°F).
Place 4–6 ramekins inside a deep baking dish.
Step 2: Mix the Ingredients
In a large bowl, whisk together the yogurt, condensed milk, eggs, and vanilla extract until completely smooth.
Avoid over-whisking, as too many air bubbles can affect the final texture.
Step 3: Fill the Ramekins
Divide the mixture evenly among the prepared ramekins.
Gently tap each ramekin on the counter to release any trapped air bubbles.
Step 4: Prepare a Water Bath
Pour hot water into the baking dish until it reaches halfway up the sides of the ramekins.
The water bath helps the yogurt bake gently and evenly, giving it a silky texture.
Step 5: Bake
Bake for 30–35 minutes, or until the edges are set and the center has a slight jiggle.
Avoid overbaking, as the yogurt will continue to firm up while cooling.
Step 6: Cool and Chill
Remove the ramekins from the water bath and let them cool to room temperature.
Refrigerate for at least 4 hours, or overnight for the best flavor and texture.
Serve chilled with your favorite toppings.
Flavor Variations
This recipe is easy to customize.
Mango Baked Yogurt
Top with fresh mango puree and diced mango before serving.
Berry Baked Yogurt
Add fresh blueberries, raspberries, or strawberries for a fruity twist.
Chocolate Baked Yogurt
Mix one tablespoon of cocoa powder into the yogurt mixture for a rich chocolate version.
Lemon Baked Yogurt
Add one teaspoon of fresh lemon zest for a bright citrus flavor.
Honey Pistachio
Drizzle honey over the chilled yogurt and sprinkle with chopped pistachios.
Vanilla Bean
Use vanilla bean paste instead of vanilla extract for a deeper vanilla flavor.
Common Mistakes
Avoid these common mistakes for the best results.
- Using low-fat yogurt can produce a thinner texture.
- Overbaking may cause the yogurt to become dry or grainy.
- Skipping the water bath can result in uneven baking.
- Whisking too vigorously creates unwanted air bubbles.
- Serving immediately after baking won’t give the yogurt enough time to set.
Storage Instructions
Store baked yogurt in the refrigerator, covered, for up to 4 days.
Do not freeze, as freezing changes the creamy texture.
For the best flavor, serve chilled straight from the refrigerator.
Serving Suggestions
Homemade baked yogurt is delicious on its own, but it’s even better with toppings.
- Fresh berries
- Mango puree
- Honey
- Maple syrup
- Chopped nuts
- Granola
- Toasted coconut
- Cinnamon
- Fresh mint leaves
It also pairs beautifully with tea or coffee for a light afternoon dessert.
Nutrition
Approximate nutrition per serving (based on 6 servings).
- Calories: 220
- Carbohydrates: 24g
- Protein: 8g
- Fat: 10g
- Saturated Fat: 5g
- Sugar: 22g
- Calcium: 20% DV
Nutritional values are estimates and may vary depending on the ingredients used.
Frequently Asked Questions
Can I use Greek yogurt?
Yes. Greek yogurt produces an even thicker and creamier baked yogurt.
Do I need a water bath?
Yes. A water bath helps the yogurt cook gently and prevents cracking or overcooking.
Can I make baked yogurt without eggs?
You can, but the texture will be softer and less custard-like. Eggs help the dessert set properly.
Can I use flavored yogurt?
Yes, but plain yogurt gives you more control over the sweetness and flavor.
How do I know when it’s done?
The edges should be set while the center still has a slight wobble. It will firm up completely after chilling.
Conclusion
This Homemade Baked Yogurt recipe proves that a luxurious dessert doesn’t need a long list of ingredients or complicated techniques. With its creamy, custard-like texture and delicate flavor, it’s a dessert that’s both simple and satisfying.
Whether you enjoy it topped with fresh fruit, honey, or crunchy nuts, baked yogurt is a versatile recipe that’s perfect for any season. Make a batch ahead of time, chill it well, and enjoy a homemade treat that’s as beautiful as it is delicious.
Homemade Baked Yogurt
4
servings30
minutes40
minutes700
kcalIngredients
2 cups (500g) plain full-fat yogurt
1 cup (300g) sweetened condensed milk
2 large eggs
1 teaspoon vanilla extract (optional)Optional Toppings
Fresh strawberries
Blueberries
Mango cubes
Honey
Chopped pistachios
Almond flakes
Granola
Ground cinnamon
Directions
- Step 1: Preheat the Oven
Preheat your oven to 160°C (320°F).
Place 4–6 ramekins inside a deep baking dish. - Step 2: Mix the Ingredients
In a large bowl, whisk together the yogurt, condensed milk, eggs, and vanilla extract until completely smooth.
Avoid over-whisking, as too many air bubbles can affect the final texture. - Step 3: Fill the Ramekins
Divide the mixture evenly among the prepared ramekins.
Gently tap each ramekin on the counter to release any trapped air bubbles. - Step 4: Prepare a Water Bath
Pour hot water into the baking dish until it reaches halfway up the sides of the ramekins.
The water bath helps the yogurt bake gently and evenly, giving it a silky texture. - Step 5: Bake
Bake for 30–35 minutes, or until the edges are set and the center has a slight jiggle.
Avoid overbaking, as the yogurt will continue to firm up while cooling. - Step 6: Cool and Chill
Remove the ramekins from the water bath and let them cool to room temperature.
Refrigerate for at least 4 hours, or overnight for the best flavor and texture.
Serve chilled with your favorite toppings.