
Craving a rich chocolate dessert without turning on the oven? This No Bake Dark Chocolate Brownie recipe is the perfect solution. It’s incredibly fudgy, packed with deep chocolate flavor, and made with simple pantry ingredients in just a few easy steps.
Unlike traditional brownies, these no bake brownies set in the refrigerator instead of the oven, creating a soft, chewy texture that’s perfect for any occasion. Whether you’re making a quick family dessert, preparing treats for a party, or simply satisfying a chocolate craving, this recipe is guaranteed to become a favorite.
In this guide, you’ll learn how to make the perfect no bake brownie, along with helpful tips, variations, storage advice, and answers to common questions.
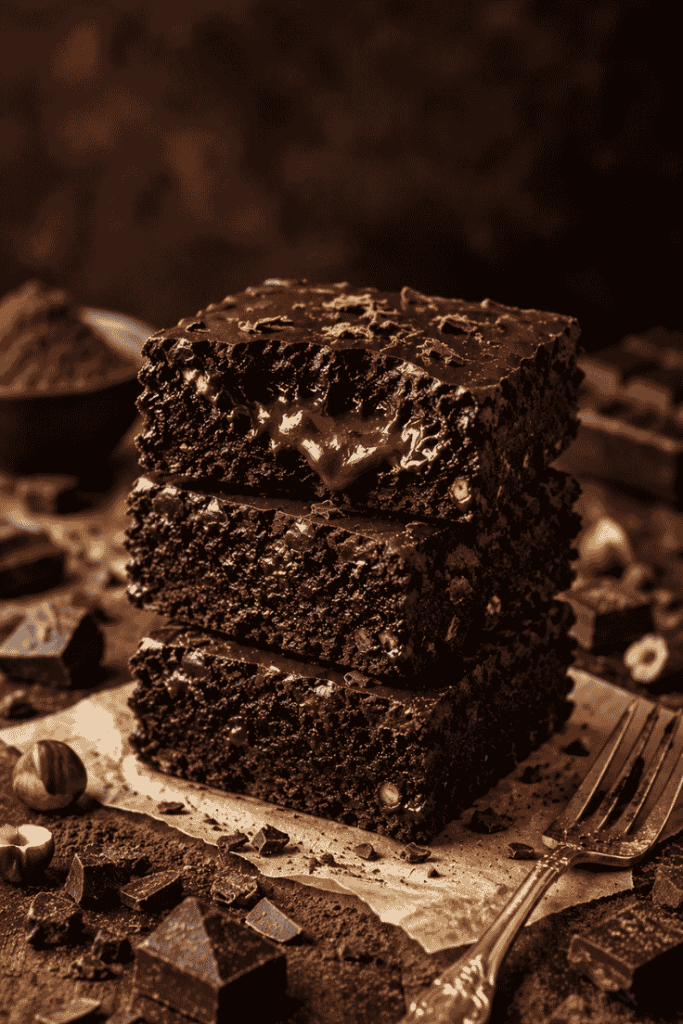
Why You’ll Love This Recipe
There are plenty of reasons to love this easy dessert.
- No oven required.
- Rich and intense dark chocolate flavor.
- Soft, chewy, and perfectly fudgy texture.
- Eggless and beginner-friendly.
- Uses everyday ingredients.
- Great for parties, holidays, and celebrations.
- Easy to customize with your favorite mix-ins.
- Stores well for several days.
If you’re looking for a quick chocolate dessert with minimal effort and maximum flavor, this recipe is for you.
Ingredients
You’ll only need a few simple ingredients to make these delicious brownies.
- 250g dark chocolate (60–70% cocoa), chopped
- 120g unsalted butter
- 200g sweetened condensed milk
- 100g crushed digestive biscuits or graham crackers
- 30g unsweetened cocoa powder
- 1 teaspoon vanilla extract
- ¼ teaspoon salt
Optional Add-ins
- Chopped walnuts
- Almonds
- Pecans
- Chocolate chips
- Mini marshmallows
Optional Toppings
- Chocolate ganache
- Cocoa powder
- Chocolate curls
- Sea salt flakes
- Fresh berries
For the richest flavor, always use high-quality dark chocolate.
How to Make No Bake Dark Chocolate Brownie
Step 1: Prepare the Pan
Line an 8-inch square pan with parchment paper, leaving extra paper hanging over the sides. This makes removing the brownies much easier after they’ve chilled.
Step 2: Melt the Chocolate
Place the chopped dark chocolate and butter into a heatproof bowl.
Melt using a double boiler or microwave in 20-second intervals, stirring after each interval until smooth. Avoid overheating, as burnt chocolate can become grainy.
Step 3: Mix the Ingredients
Add the condensed milk, vanilla extract, and salt to the melted chocolate.
Whisk until smooth and glossy.
Sift in the cocoa powder and mix well.
Fold in the crushed biscuits until everything is evenly coated.
If you’re adding nuts or chocolate chips, gently fold them in now.
Step 4: Press into the Pan
Transfer the brownie mixture into the prepared pan.
Use a spatula or the back of a spoon to press it down firmly, making sure the surface is smooth and even.
Step 5: Chill
Refrigerate for at least 4 hours, or overnight for the best texture.
Once firm, lift the brownies from the pan using the parchment paper.
Slice into squares using a warm knife, wiping the blade clean between each cut for neat edges.
Recipe Variations
This recipe is easy to customize.
Triple Chocolate
Mix white chocolate and milk chocolate chips into the batter for an extra indulgent dessert.
Peanut Butter
Swirl a few tablespoons of creamy peanut butter into the mixture before chilling.
Nutty Brownies
Add chopped walnuts, pecans, almonds, or hazelnuts for extra crunch.
Mocha Brownies
Stir in one teaspoon of espresso powder to enhance the chocolate flavor.
Cookies and Cream
Fold crushed chocolate sandwich cookies into the mixture for a fun twist.
Common Mistakes to Avoid
Even a simple recipe can go wrong if you’re not careful.
- Using poor-quality chocolate can affect both flavor and texture.
- Overheating the chocolate may cause it to become grainy.
- Skipping the chilling time can result in soft brownies that won’t slice properly.
- Adding too many biscuit crumbs may make the brownies dry.
- Forgetting to line the pan makes removing the brownies much more difficult.
Following these simple tips will help you achieve perfectly fudgy brownies every time.
Storage Instructions
These brownies store beautifully, making them ideal for meal prep or entertaining.
Refrigerator
Store the brownies in an airtight container for up to 7 days.
Separate layers with parchment paper to prevent sticking.
Freezer
Wrap individual brownie squares tightly and freeze for up to 2 months.
Thaw overnight in the refrigerator before serving.
Serving Suggestions
These brownies are delicious on their own, but they pair wonderfully with a variety of toppings.
- Vanilla ice cream
- Fresh strawberries
- Whipped cream
- Chocolate sauce
- Salted caramel drizzle
- Fresh raspberries
- Hot coffee
- Cold milk
For an elegant presentation, dust the brownies with cocoa powder and top with chocolate curls.
Nutrition
Approximate nutrition per brownie (based on 16 servings).
- Calories: 265
- Carbohydrates: 29g
- Protein: 3g
- Fat: 15g
- Saturated Fat: 8g
- Sugar: 19g
- Fiber: 2g
- Sodium: 85mg
Nutrition values are estimates and may vary depending on the ingredients used.
Frequently Asked Questions
Can I use milk chocolate instead of dark chocolate?
Yes. Milk chocolate works well, but the brownies will be sweeter and slightly less rich than those made with dark chocolate.
Do these brownies need to stay refrigerated?
Yes. Refrigeration helps the brownies firm up and maintain their fudgy texture.
Can I make these brownies gluten-free?
Absolutely. Simply replace the digestive biscuits with your favorite gluten-free biscuits.
How long do no bake brownies last?
Stored in an airtight container, they’ll stay fresh in the refrigerator for up to one week or in the freezer for up to two months.
Can I add nuts or dried fruit?
Yes. Walnuts, pecans, almonds, raisins, dried cranberries, or chopped dates all work beautifully in this recipe.
Conclusion
If you’re looking for a simple dessert that’s rich, indulgent, and incredibly easy to make, this No Bake Dark Chocolate Brownie recipe is hard to beat. With no oven required, minimal preparation, and a perfectly fudgy texture, it’s ideal for beginners and experienced home bakers alike.
Whether you enjoy these brownies plain, topped with chocolate ganache, or served with a scoop of vanilla ice cream, they’re guaranteed to satisfy every chocolate lover. Save this recipe for your next celebration or whenever you’re craving a quick homemade treat, and don’t forget to experiment with different mix-ins and toppings to make it your own.
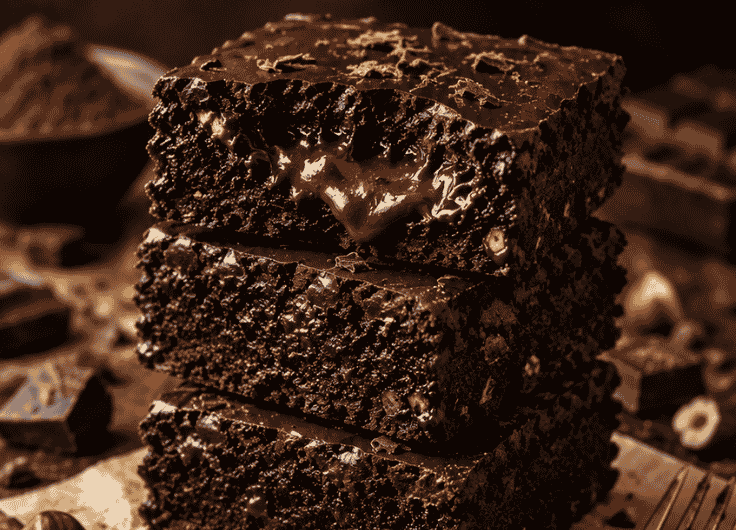
No Bake Dark Chocolate Brownie Recipe
Cuisine: bakingDifficulty: Easy4
servings30
minutes40
minutes900
kcalIngredients
250g dark chocolate (60–70% cocoa), chopped
120g unsalted butter
200g sweetened condensed milk
100g crushed digestive biscuits or graham crackers
30g unsweetened cocoa powder
1 teaspoon vanilla extract
¼ teaspoon salt
Directions
- Line an 8-inch square pan with parchment paper, leaving extra paper hanging over the sides.
This makes removing the brownies much easier after they’ve chilled. - Melt the Chocolate
Place the chopped dark chocolate and butter into a heatproof bowl.
Melt using a double boiler or microwave in 20-second intervals, stirring after each interval until smooth.
Avoid overheating, as burnt chocolate can become grainy. - Mix the Ingredients
Add the condensed milk, vanilla extract, and salt to the melted chocolate.
Whisk until smooth and glossy.
Sift in the cocoa powder and mix well.
Fold in the crushed biscuits until everything is evenly coated.
If you’re adding nuts or chocolate chips, gently fold them in now. - Press into the Pan
Transfer the brownie mixture into the prepared pan.
Use a spatula or the back of a spoon to press it down firmly, making sure the surface is smooth and even. - Chill
Refrigerate for at least 4 hours, or overnight for the best texture.
Once firm, lift the brownies from the pan using the parchment paper.
Slice into squares using a warm knife, wiping the blade clean between each cut for neat edges.