No-Knead Crusty Bread
About This No-Knead Crusty Bread
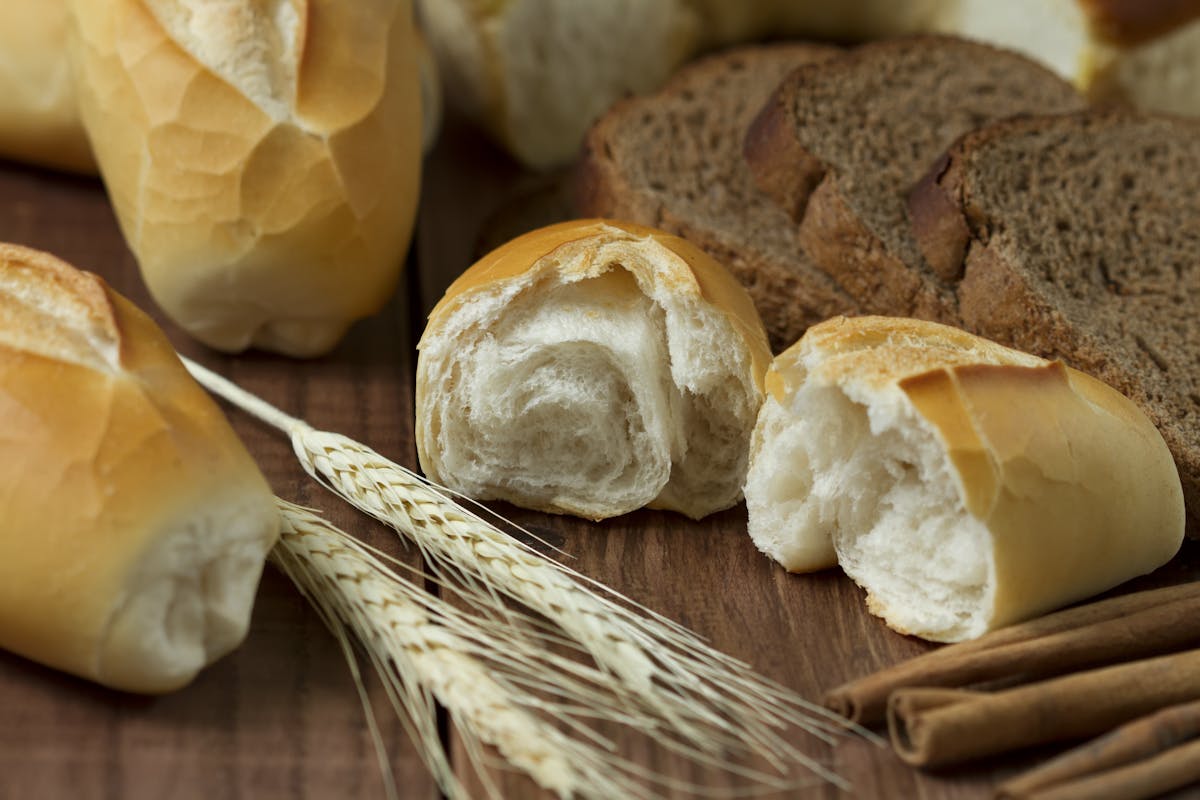
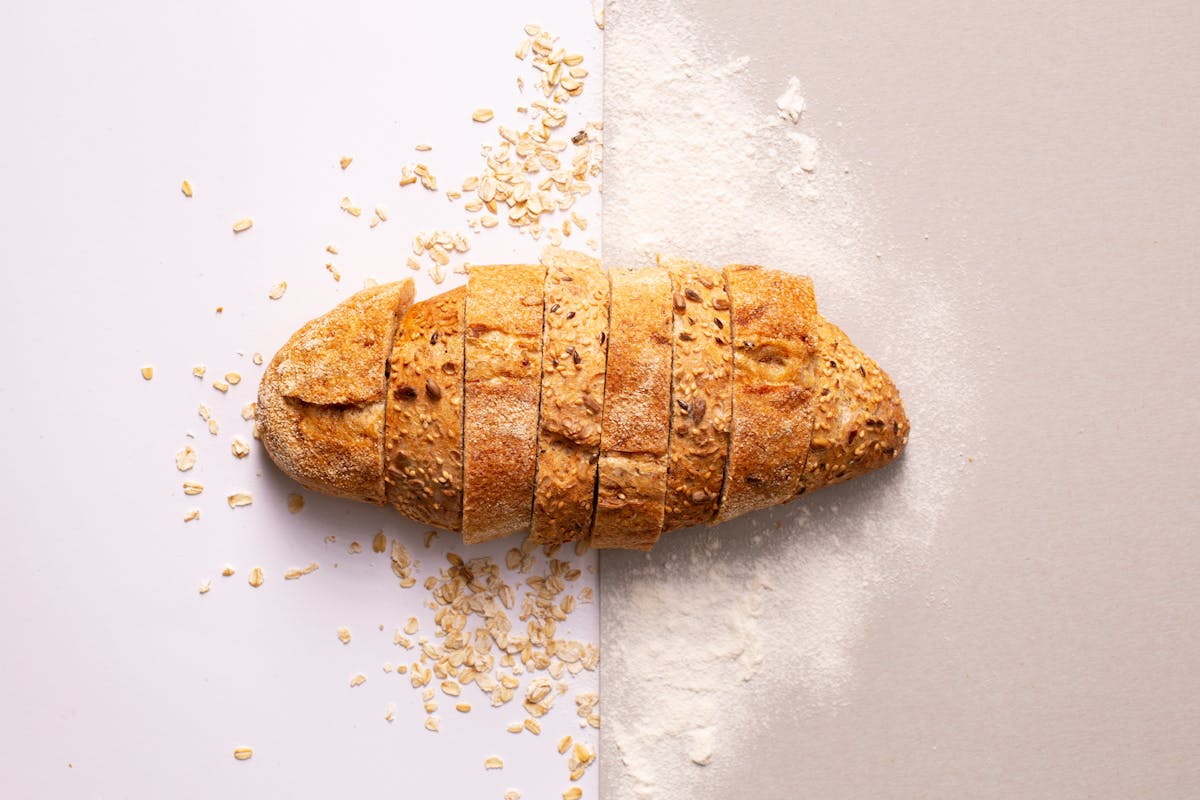
No-knead bread revolutionized home baking when it was first popularized, proving that you don't need special skills, equipment, or hours of kneading to make bakery-quality artisan bread at home. This simple method uses time instead of effort, allowing a long, slow fermentation to develop incredible flavor and texture. The result is a gorgeous round loaf with a thick, crackling crust, an open, chewy crumb, and complex flavor that rivals anything you'd buy at an expensive bakery. All you need are four basic ingredients and a Dutch oven.
What Makes This No-Knead Crusty Bread Special
The genius of this recipe lies in understanding how bread develops. Traditional bread-making relies on kneading to develop gluten, the protein network that gives bread structure. This recipe uses a very wet dough and a long rising time (12-18 hours) to develop gluten naturally without any kneading. During this slow rise, the yeast produces not only carbon dioxide for leavening but also flavorful byproducts that give the bread its complex, slightly tangy taste. The high hydration also contributes to the bread's open, irregular crumb structure with those characteristic large holes.
Key Techniques for Success
Baking the bread in a preheated Dutch oven is the secret to achieving that professional crackling crust at home. The covered pot traps steam from the dough during the first part of baking, mimicking the steam-injected ovens used in commercial bakeries. This steam keeps the crust soft initially, allowing maximum oven spring (rise), and then the uncovered second half of baking creates that deep golden, crispy crust we all love.
Perfect for Every Occasion
While the total time is long (mostly hands-off rising time), the actual work required is minimal – maybe 10 minutes total. Mix the dough the night before, let it rise while you sleep and go about your day, then bake it when you're ready. The smell of fresh bread baking is just a bonus.
Ingredients
- 400g (3¼ cups) All-purpose flour
- ¼ tsp Instant yeast
- 1½ tsp Salt
- 360ml (1½ cups) Warm water
Quick Info
- Total Time:
- 1050 min
- Difficulty:
- Easy
- Servings:
- 8
Instructions
- 1
In a large bowl, whisk together the flour, yeast, and salt. Add the warm water and stir with a wooden spoon or spatula until all the flour is incorporated. The dough will be very sticky and shaggy – this is correct. Do not add more flour.
- 2
Cover the bowl tightly with plastic wrap and let it sit at room temperature for 12-18 hours. The dough will bubble, rise, and become dotted with holes. It should more than double in size.
- 3
After the rise, the dough will be very sticky and wet. Generously flour a work surface and turn the dough out onto it. Flour your hands and quickly fold the dough over on itself a few times, just 4-5 folds. Don't knead it.
- 4
Shape the dough into a rough ball. It doesn't need to be perfect. Cover loosely with plastic wrap and let rest for 15 minutes.
- 5
Meanwhile, lay a large piece of parchment paper on your work surface and dust it generously with flour. Place the dough ball on the parchment.
- 6
Cover the dough loosely with a clean kitchen towel and let it rise for another 1-2 hours at room temperature. It should become puffy but won't double in size again.
- 7
About 30 minutes before baking, place a Dutch oven (with lid) in your oven and preheat to 450°F (230°C). The pot needs to be very hot.
- 8
When ready to bake, carefully remove the hot Dutch oven from the oven. Using the parchment paper as a sling, carefully lift the dough and lower it into the hot pot, parchment and all.
- 9
Cover the pot with the lid and bake for 30 minutes. The lid traps steam for a better crust.
- 10
After 30 minutes, remove the lid and continue baking for another 12-15 minutes, until the bread is deep golden brown and sounds hollow when tapped on the bottom.
- 11
Carefully remove the bread from the pot using the parchment sling and transfer to a wire rack.
- 12
Let the bread cool for at least 1 hour before slicing – cutting it too soon will make the interior gummy. The crust will crackle as it cools. Store at room temperature, cut side down, for up to 3 days.
Pro Tips
- •Don't skip the long first rise – that's where flavor develops
- •The dough should be very wet and sticky – resist adding more flour
- •Use a Dutch oven or other heavy pot with a lid – it's essential for the crust
- •Preheat the pot fully – a hot pot is key to a good oven spring
- •Let the bread cool completely before slicing for the best texture
Variations
For whole wheat bread, replace up to half the all-purpose flour with whole wheat flour. Add herbs like rosemary or thyme to the dough. For olive bread, fold in ½ cup chopped olives before the second rise. Make it seeded by sprinkling seeds on top before baking. For garlic bread, add 4 cloves of minced garlic to the dough.